Hey friends! A few weeks ago, you may have read my DIY painter post about picking out a paint color. Now that you’ve made the big decision, it’s almost time to paint. But wait! First you need to make sure you have all your painting supplies! Here’s my list of “must-haves” and a few extra suggestions:

- Painting clothes are a must! I am a messy painter so I usually change into clothes that I don’t mind getting some paint on. And somehow it usually ends up in my hair so a hat is also helpful.
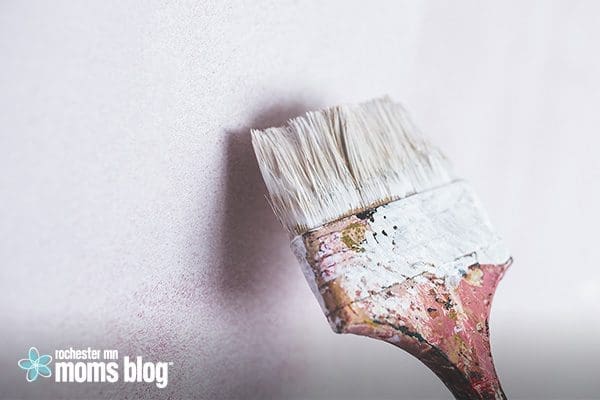
- A really good brush. I love Purdy brushes, the XL Dale is my personal favorite for cutting in. Yes, it’s a little more than the store brand $5 brush but trust me, you will be glad you invested in a good brush. Make sure you test out the handles as there are many different types of paint brush handles, find one that you are comfortable with. My other favorite is the Wooster shortcut brush! I love this thing, it has a short flexible handle and is great for cutting in and reaching those hard to get spots.
- A new favorite of mine is the paint brush cover. I usually use plastic bags to store my wet brush in when I know I will be painting again within the next day or so. This cover works in a similar fashion but I really like the hard plastic to keep it from squishing paint all over.
- Roller frame. My absolute favorite is this ergonomical one with a soft grip handle, you can find it here. I have had this for years and can tell if I don’t paint with it. Save your wrist some pain and get this one!
- Roller covers will vary depending on the thickness and the texture of the wall you are painting. If your wall is mostly smooth I usually use a 3/8 nap. For more textured or rough feeling walls, a 1/2 nap works well. I am a big fan of the Purdy white dove rollers myself. Spending a little more for a nice roller cover is something I’ve never regretted.
- The black paint trays that are a little deeper are great for painting with. And don’t forget the disposable paint tray liners. They make clean up so easy!
- Tape. I don’t use tape anymore but if you do, Frog Tape is generally a fan favorite.
- Paper towel. Just because you will need it. I promise.
- Spackling, sanding block and a putty knife. Before painting, fill any nail holes or dents in the wall with spackling. I look for the fast drying stuff.
- A good step ladder is always handy! So much easier to haul around than a 6 foot ladder. Unless you have uber tall ceilings.
- While plastic drop cloths are cheap, I have found that using a canvas drop cloth is so much easier to move around. They are less noise, easier to spread out and obviously last longer. Plus it’s fun to see all the different paint colors you can collect on it over the years.
- Paint Pads are super handy for the stairways and hard to reach spots. I look for the ones that can have a pole screwed into them so you can reach those high areas without scaffolding or doing some sort of acrobatics.
- Paint Pal. This is my new favorite tool for cutting in! It has a magnet so your brush sticks to the inside of the bucket. It also has liners so clean up is easy breezy!
- Artist brushes are another favorite of mine. You can use them to get into those super tight spots that your regular paint brush can’t reach.
- Finally, plastic bags are super helpful. I use them to slide my paint tray into if I have to stop painting for a few hours. It protects the paint from getting anything in it, like dog paws, kids and dirt. You can also wrap your paintbrush in a plastic bag and stick it in the fridge if you plan on using it in the next day or so. And I also use the plastic bag to wrap around my roller cover when it’s time to remove it from the roller frame. It also comes in handy when it’s time to pull the tape off the trim, you can just bunch it all up and stick it inside the plastic bag.
Now that you have everything, it’s time to prep the room. Take off all light switch and outlet covers. Patch the nail holes and then sand when dry. Tape off the trim, door frames and whatever else you need.
It’s time to paint, finally! Stay tuned for my next post on how to paint those walls!


