


Pumpkin EVERYTHING. Am I right? Well, if you know anything about me, I’m about watercolor EVERYTHING (or at least painted EVERYTHING). So I thought I’d give my pumpkins the same royal treatment! I know I’m not the only one who’s curious about how to paint a pumpkin. Here’s a little painted pumpkins DIY. Let me know if you’ll be painting your pumpkins this year–a perfect fall craft!
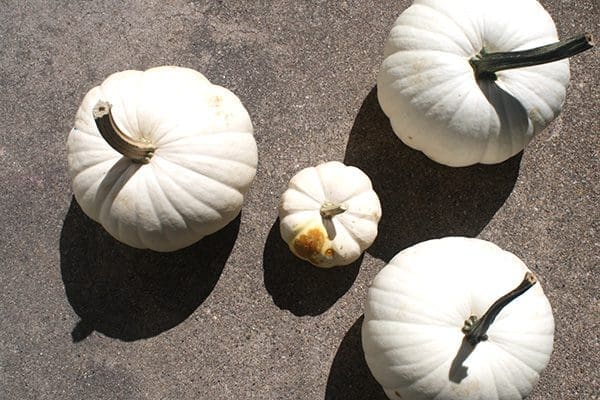
Walking into the grocery store has been a challenge lately. My youngest goes bananas. “Pun-kings!” While he’s loving on the orange, I’m interested in the white ones. They’re like little, round canvases.
Priming Your Pumpkins
I’d love to say that the pumpkin-y roundness is the only thing to consider when painting your pumpkins, but it’s not. The biggest thing to wrangle is this: their rubbery texture. Whether you buy these at the craft store or at the grocer’s, the smooth texture makes them less than easy to paint on. So let me lay the biggest bummer about painting pumpkins on you right off the bat: YOU MUST PRIME. You must. End of story.
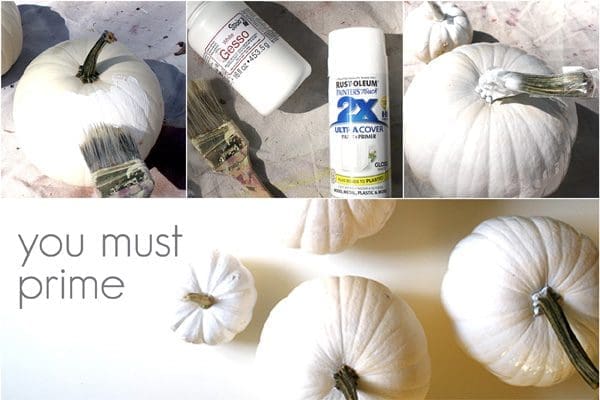
I used two popular choices: spray primer and gesso. You can find the primer at a hardware store and the gesso can be found at craft, sewing or even big box stores. (PS- use your 40% off coupon. PSS- Don’t GUESS-O. It’s prounounced “jess-oh.”) The gesso was my fave. It has more of a chalky finish which makes it perfect for grabbing your next medium of choice.
Black Marker

The easy-peasy peeps will love this take. Here’s your chance to take simple shapes or elaborate mandalas and make them decor! My simple crosses and diamonds were placed somewhat rhythmically to make a pattern. I wanted to think of a super cool phrase to place on my other pumpkin. All I came up with was super cheesy. So I asked my five year-old what his favorite word was. He gave me a very certain “25.” Twenty-five means nothing to me, so I took his cue and wrote our house numbers. I used both a sharpie and a paint marker. The winning combo for this approach was spray primer + sharpie.
Gold Acrylic Paint

And for extra credit, a little gold never hurt anybody! These two were treated to some gold acrylic paint. One pumpkin was polka-dotted with a brush. I recommend making a circle by rotating the brush while pressing down. It’ll create a natural circle rather than trying to outline the shape yourself. The second is an ol’ teacher’s trick of using the end of a fresh #2 pencil as a stamp. The more paint, the better.
Watercolor Pumpkin

I put the pumpkins on little stands. I used glass dishes. The paint will run down and we want as much of the pumpkin to get colored as possible. I painted splotches of color randomly. Red looked gory, but better once I added orange next to it. And purple. And green. And yellow. Use very concentrated colors–as in not much water–because it’ll just run down and watercolor always dries lighter. My hubby picked this one as his favorite. Good boy.
Ombre Pumpkin
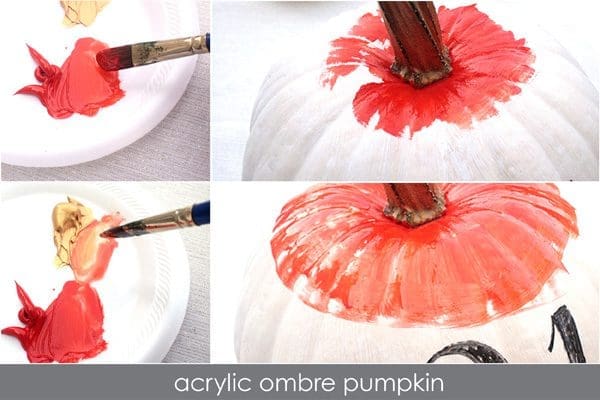
This was much easier than it looks! Begin with straight-up color #1 (in my case, red). Add some water and a little of your next color. As your third stripe, go all-in with color #2. And lastly, just use water to blend what’s left on your brush into the white of the (gesso) primed pumpkin.
Tip: It’s really easy to blend into oblivion and end up with a single-toned pumpkin. The trick to not blend. The paints will blend themselves and you’ll have time to retouch at the end. In fact, my initial red was hardly noticeable once it all blended into the middle orange tones created by the red + gold.
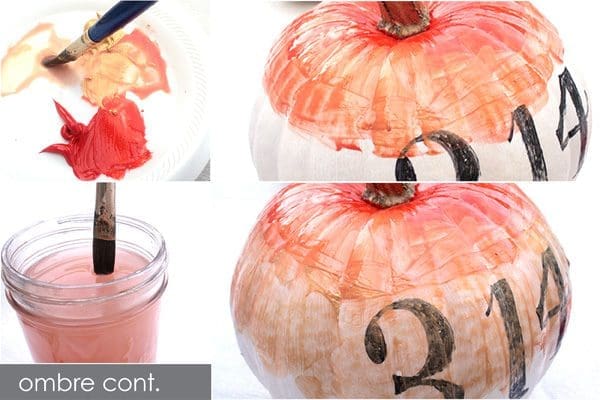
My 314 numbers needed retouching after this dried. No prob. Once finished, she looked like a bright throwback to candy corn… but it was still a pumpkin! Totally mind-blowing. And super fun.
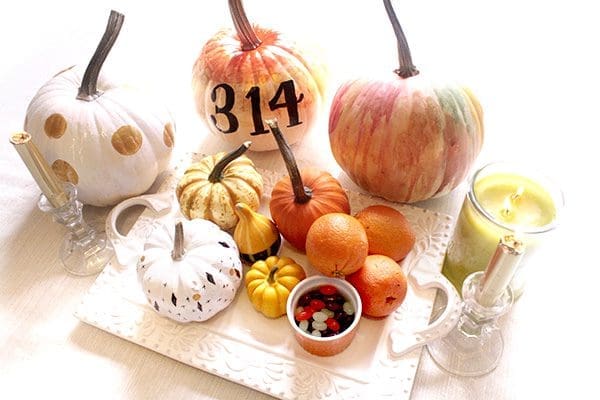
I’ll be placing my pumpkins on my front stoop once it’s made worthy–helicopter leaves be gone! For now, their home on the dining room table along with some mini’s and wannabe’s is simply sweet.
Gonna give it a try?! Take a picture and post it on Instagram. Hashtag it #punkypumpkins. We’ll be looking out for it!
Happy fall, ya’ll!
A